Orenara · Installation
Honest installation.
No surprises.
Here's exactly what you're working with, how it goes together, and what it looks like once it's done.
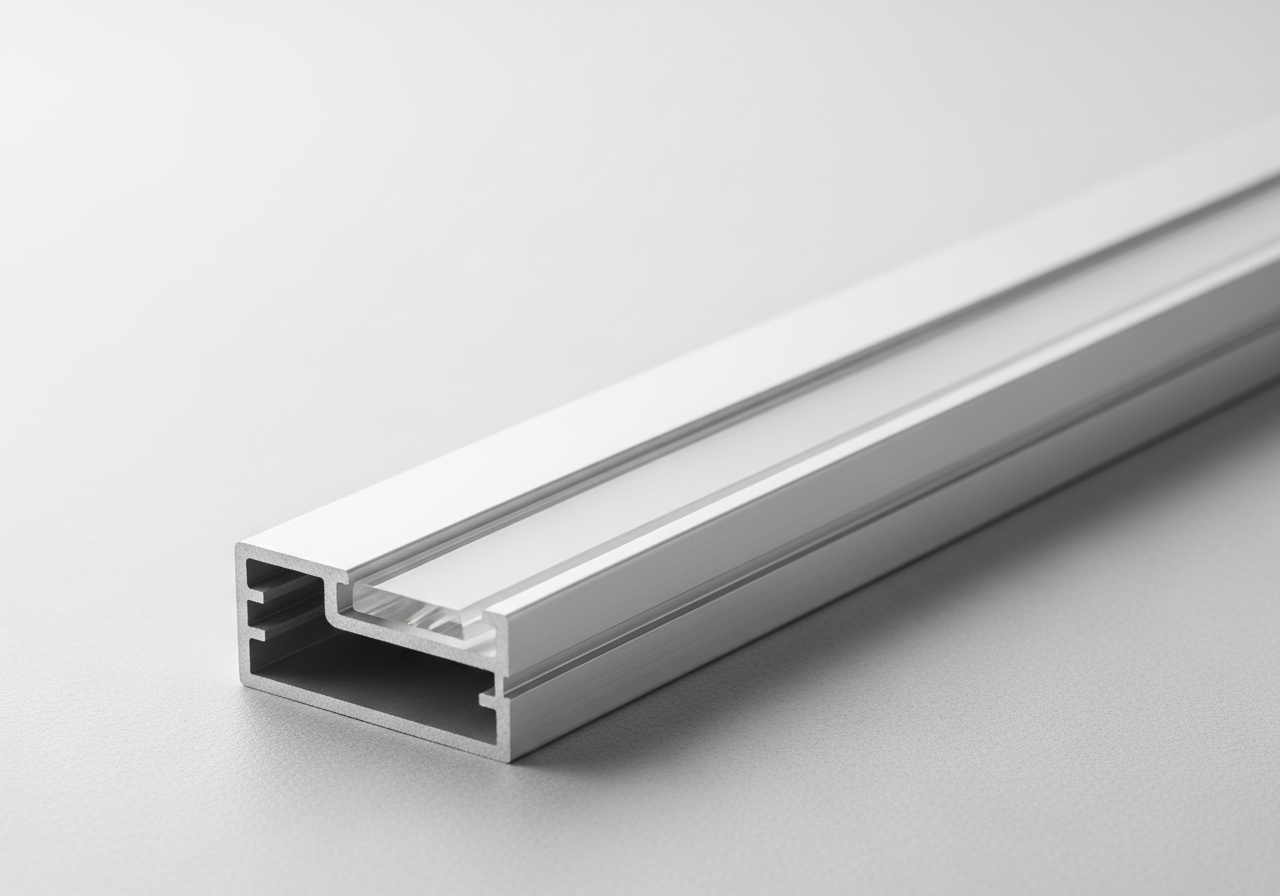
What the extrusion actually looks like
This is not an architectural profile. It's a practical, robust aluminium channel designed to be bolted to concrete, render, timber, or garden edging. It's 19.6mm wide, 20.4mm tall, and holds the SF17 neon strip securely with a press-fit diffuser cover.
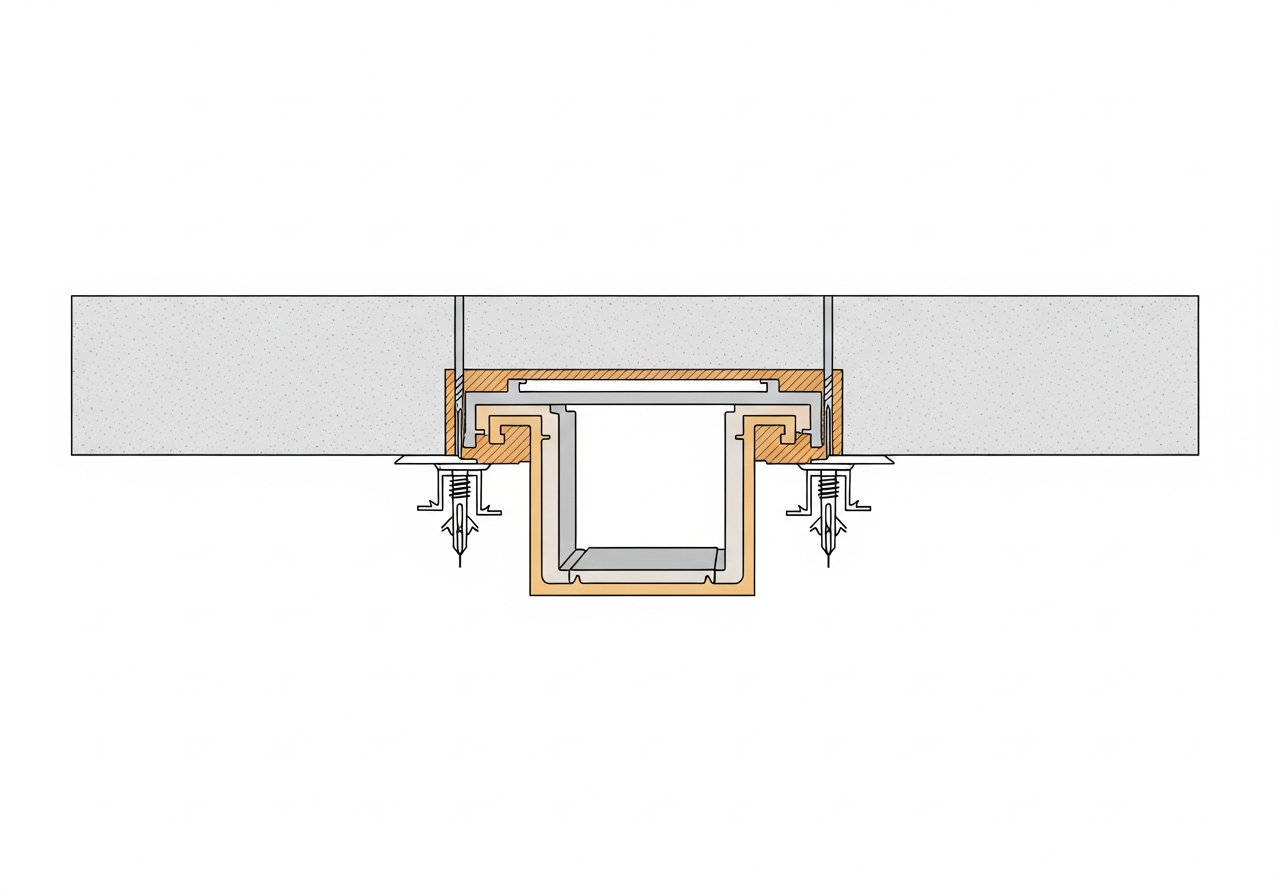
How it mounts to a concrete slab or rendered wall
The channel has pre-drilled mounting holes at 500mm intervals. Use masonry anchors into concrete or rendered block, or timber screws into wood framing. The channel sits flush and the strip sits inside it — light comes from inside the channel, directed upward or outward depending on your mounting position.
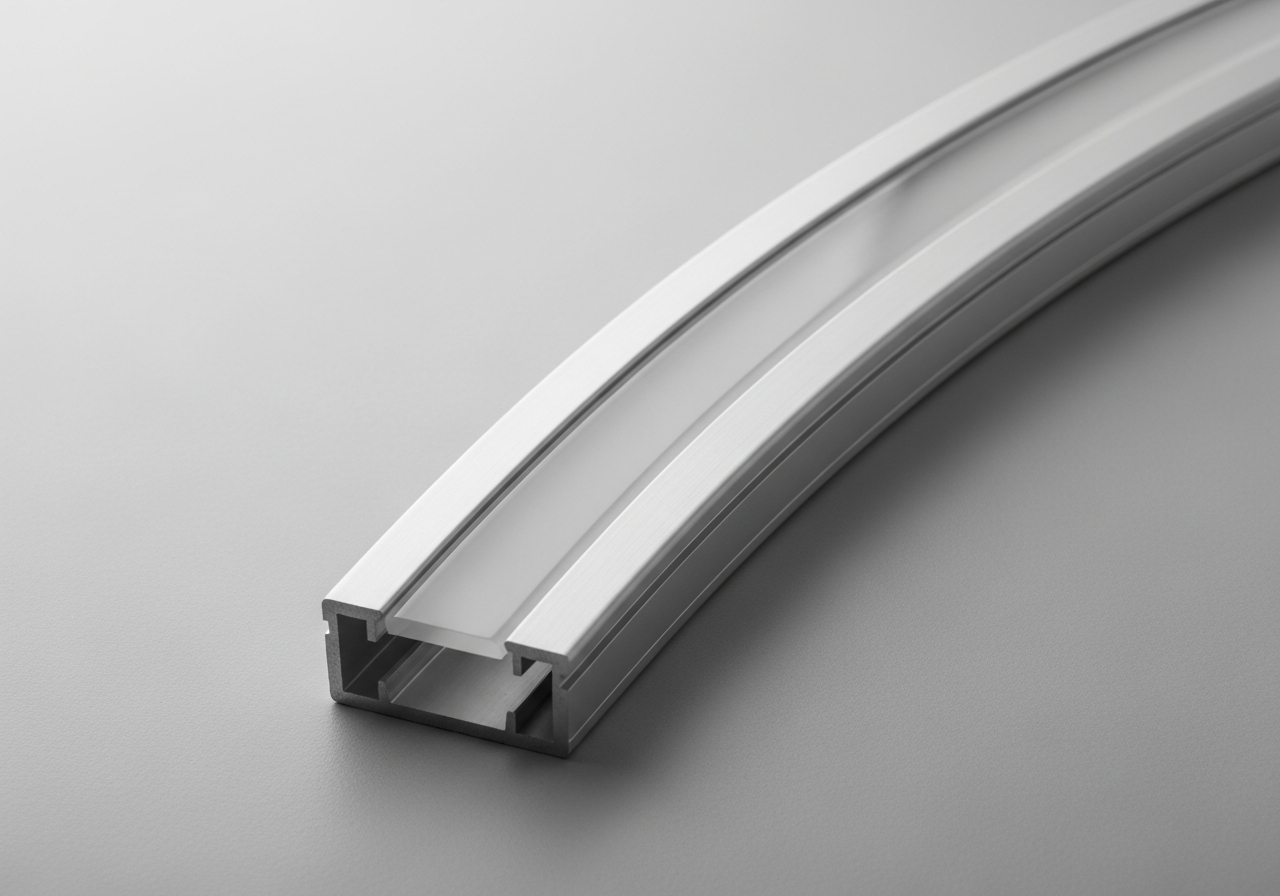
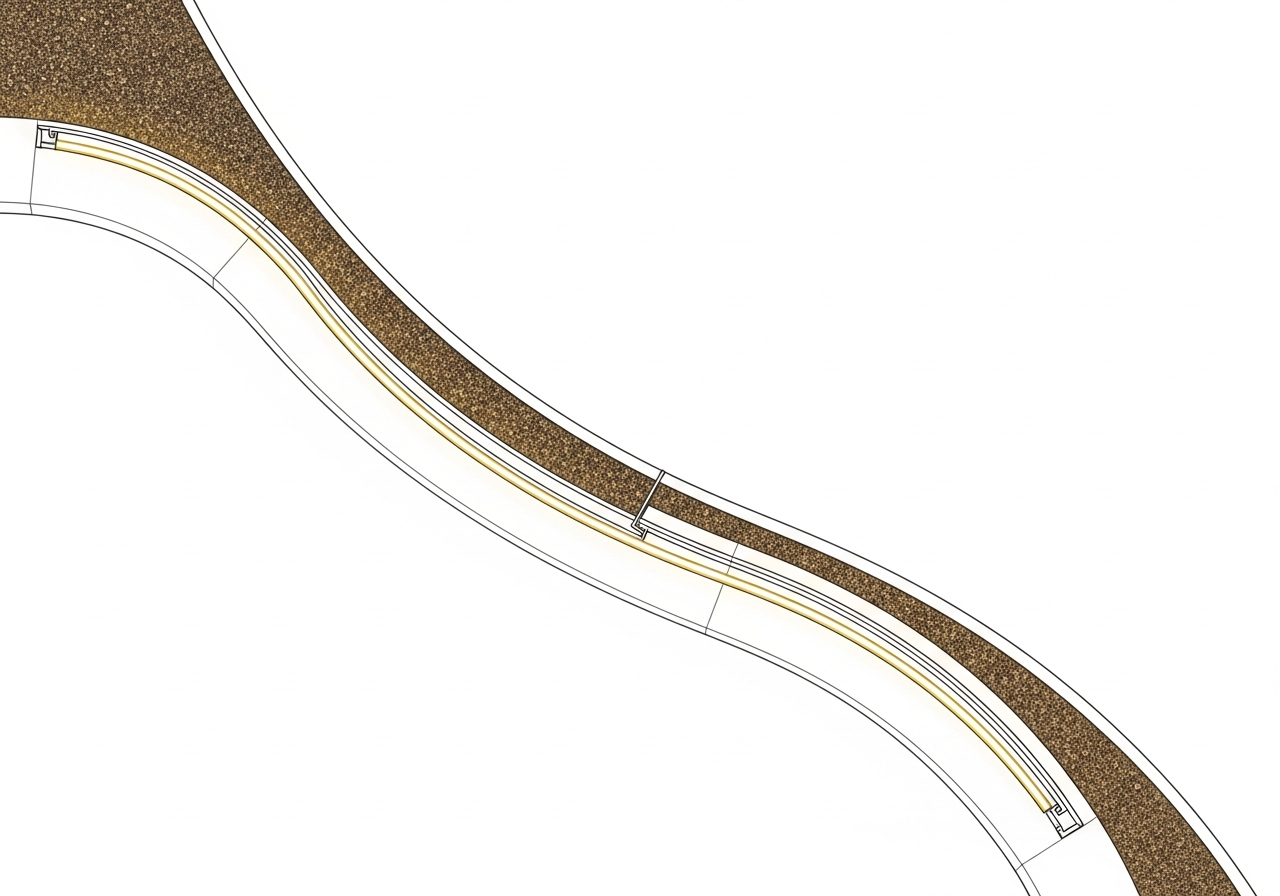
How the curves work
The flex channel has a minimum bend radius of 150mm — meaning it follows tight curves around garden beds, pool copings, and feature walls. You bend it by hand to shape before mounting. The neon strip feeds inside after the channel is in position. No heat gun. No special tools.
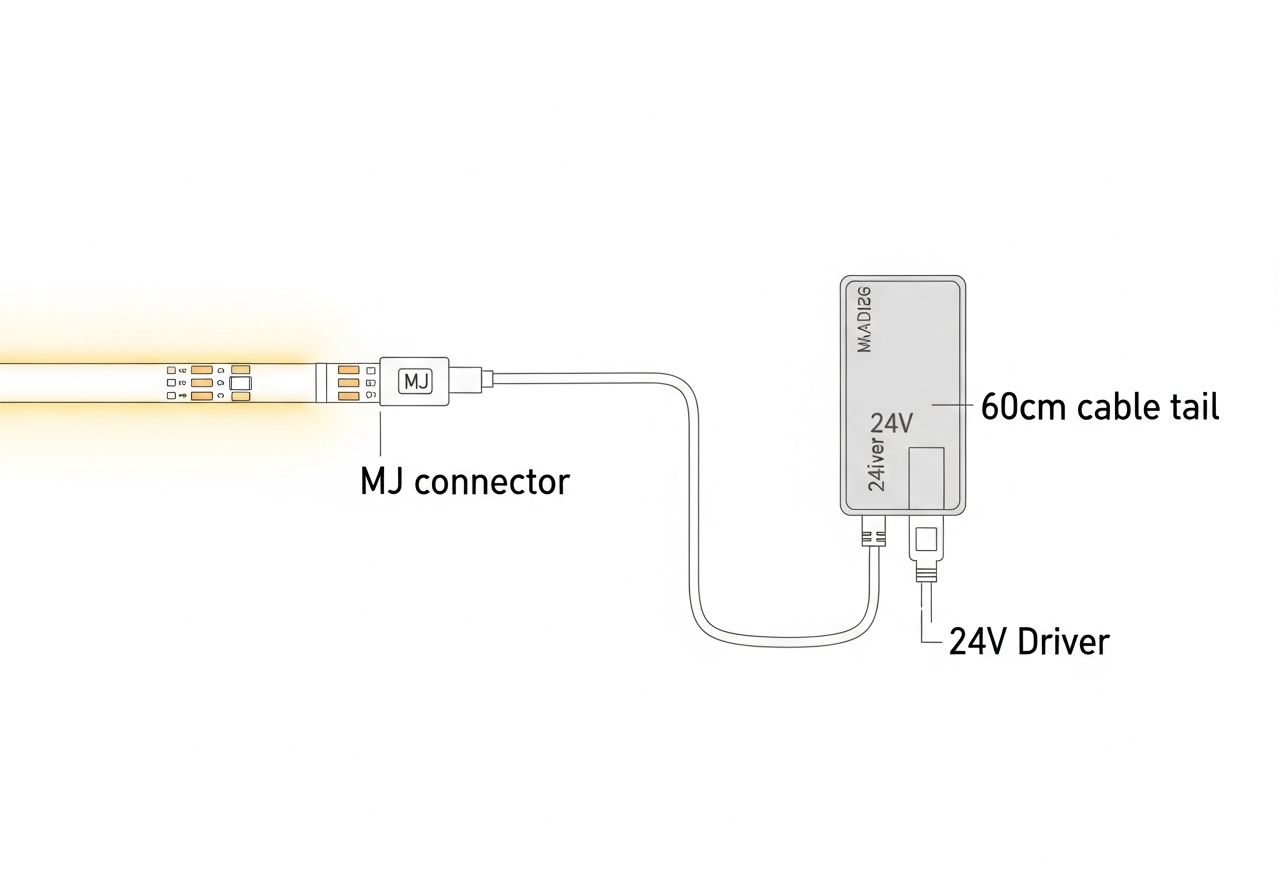
The wiring — simpler than it looks
The MJ connector attaches to the end of the strip — no soldering. The 60cm cable tail runs to your driver. The driver has two input wires (neutral and active) that connect to your 240V supply. In most outdoor installs this connection is done by your electrician — everything up to that point is DIY.
Electrician required
The driver to mains connection requires a licensed electrician in Australia. Everything else — channel mounting, strip installation, and connector wiring — is DIY.
IP68 — what that actually means for your garden
IP68 means the strip is rated for continuous submersion beyond 1 metre depth. For a garden bed that floods in heavy rain, a pool edge where water sits, or a slab channel where water pools — this is the rating you need. IP65 handles splashing. IP68 handles being underwater. In QLD conditions, there's no substitute.
The full install sequence
- 01
Mark your run on the surface (chalk line or string line for curves)
- 02
Drill and anchor channel every 500mm
- 03
Bend flex channel to shape (curved runs only)
- 04
Feed neon strip into channel
- 05
Press diffuser cover onto channel
- 06
Attach MJ connector to strip end
- 07
Run 60cm cable tail to driver location
- 08
Connect driver to cable
- 09
Have electrician connect driver to mains
- 10
Test and adjust
Ready to go